Facebook Live video is a secret weapon for boosting your ORGANIC, unpaid search on a business Facebook page. Use it regularly, and revel in the results! Here’s the Facebook Help post with the steps.....and I've added my additional Facebook Live Video launch tips below. 1. First, make sure you have a strong WiFi connection. This is essential. Next, hold your phone VERTICALLY. 2. Log in to your Facebook BUSINESS page from your phone. 3. Click on the Publish button to make a new post (the Facebook Live video will look like a Facebook post, except with video).
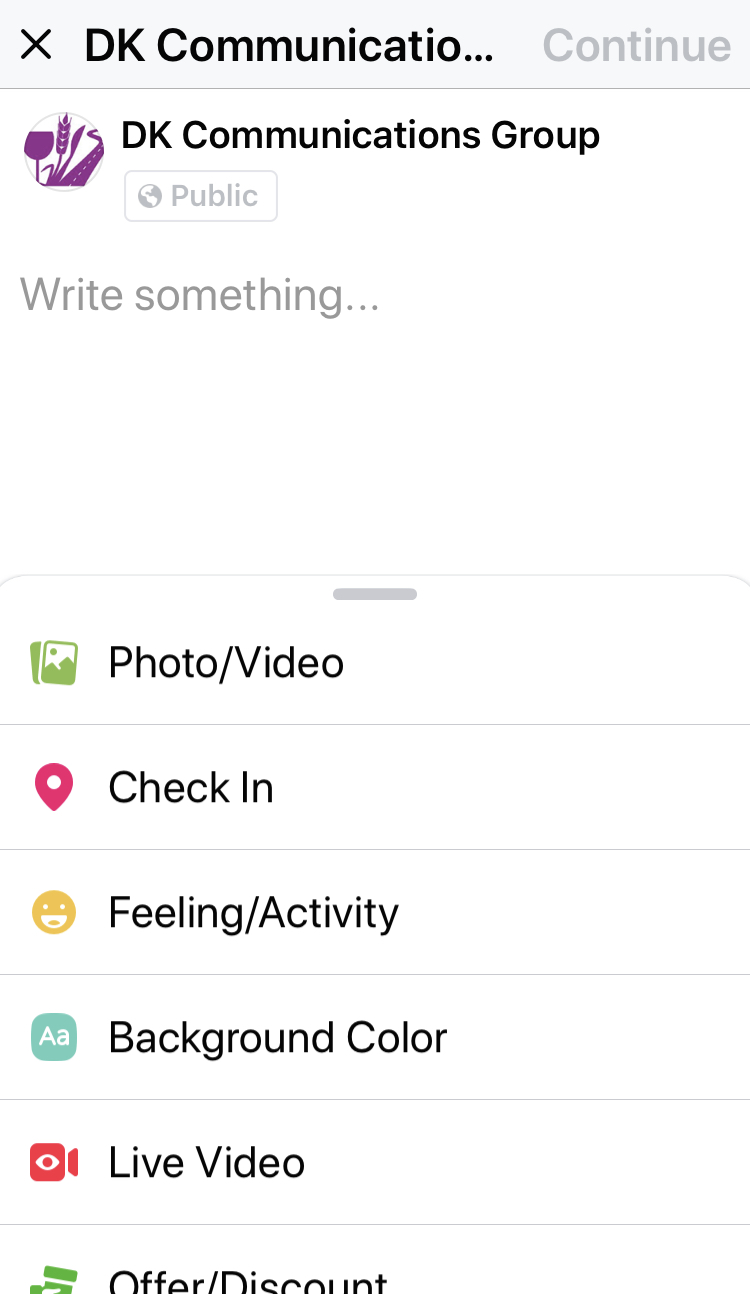
You’ll see the words “Add to your post” in the fresh space for your new post. Touch that.
You’ll see the red icon and the words “Live Video”. Click that. (Screen grab from my phone as an example is below.)
4. The camera will open
You want it to say "To: Public” at the top.
Tap on “Tap to add a description". Type in a short title for your video. a. At the top right, you’ll see a little camera with swirling arrows. If you touch this, you can shift the focus of the video—you can make it look at the camera shooter’s face (start out with a strong smile, if you can!). You can also make it look at something away from you. You can choose.
b. The Shazam (lightning strike) symbol beside it is for offering extra light. You probably won’t need this. The X at the top takes you back out to “regular” Facebook. c. The three little buttons in a row on the top left will restrict your audience (don’t worry about that—you want it to be seen publicly) or allow you to request donations. d. The little wand on the lower left offers silly faces and decorations to put on your screen. I don’t use these.
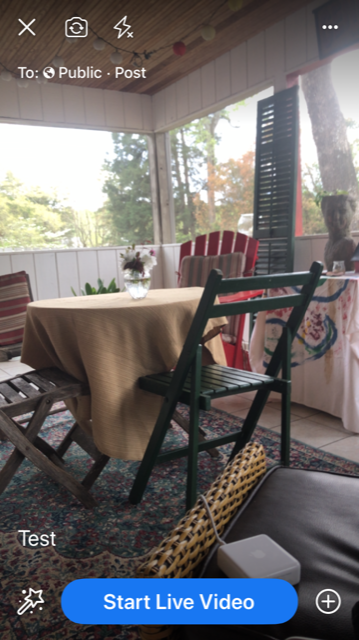
5. Press “Start Live Video” to go live. a. You may see messages come in from friends who know how to use this. Some may ask you a question. You can answer any questions in the comments once it loads to Facebook, after you've finished recording. b. You may also see the number of people watching. Don’t worry about this. The real traction usually comes after it posts.
6. Wrap it up
If you are discussing merchandise, plan for the last shot to be something you like—just let the camera rest on that while you sign off by saying “Thanks for watching!”.
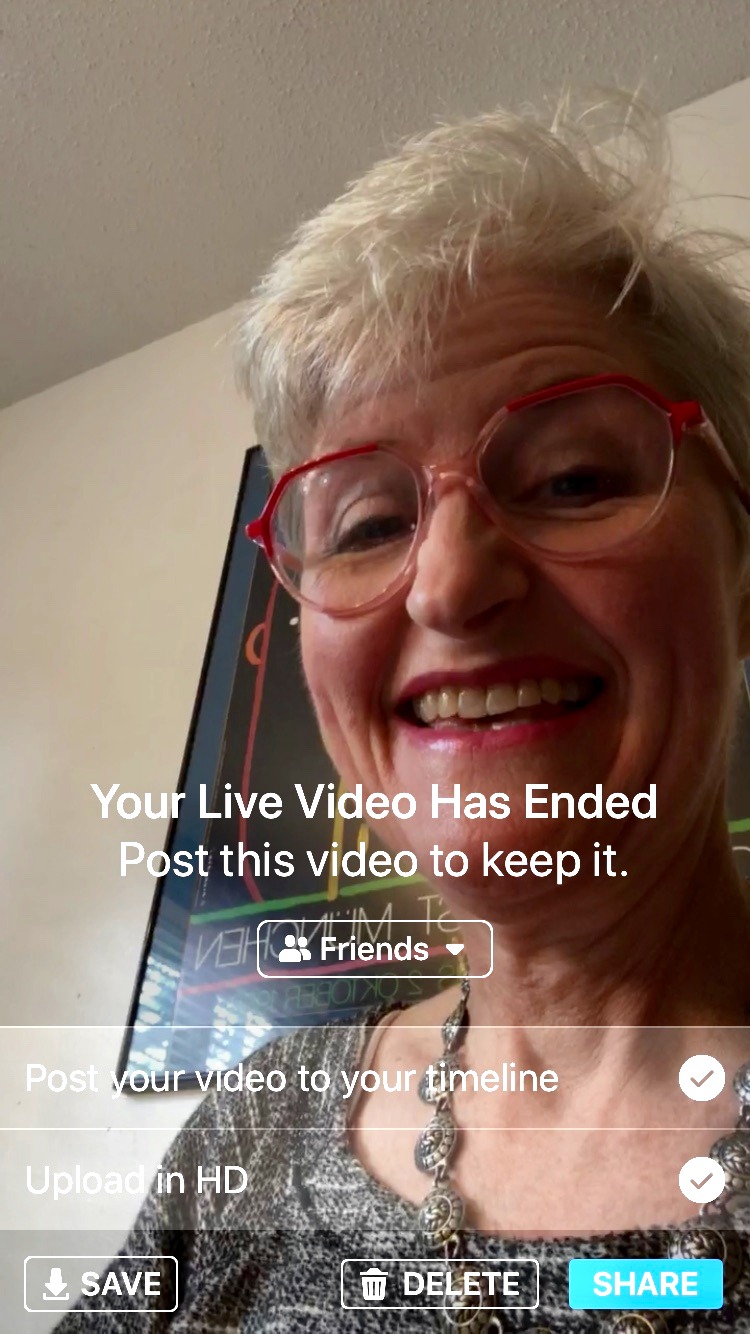
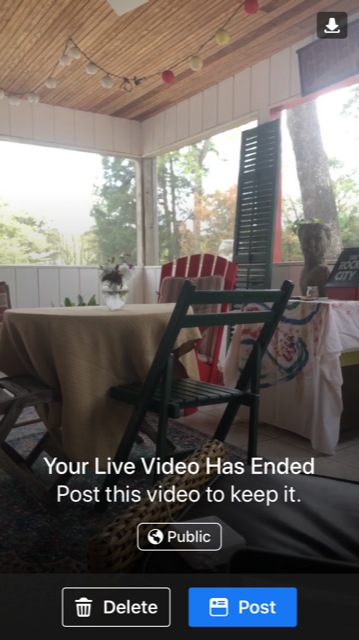
Then hit the “Finish” button.
7. Hit POST Button to save the Facebook Live Video to your Facebook feed.
It will take a few minutes to load. It will tell you when it has loaded.
Quick tips:
If you mess up, don’t worry….just keep going! This is just like having a conversation. How many of us say everything right all the time?
If you mess up so much you are cringing, just shut it down and don’t save it to your page. Try again. Sometimes, I go live and test everything (just tell folks who see you that you are testing)....and then I'm more confident when I go live.
Make sure you have lots of light in the room you are shooting in. Make sure that light isn’t all BEHIND you. If it’s all behind you, you look like a black silhouette in the shot. A combination of overhead lighting and lighting in front of you works well.
If you have professional gear that keeps your phone steady or a phone stand, great! If not, you can make a stack of books at the right height, and rest your phone on that stack of books. If you walk somewhere during the video (for instance, to get closer to an item you are showing or to give a tour of your business or studio), walk slowly and steadily. Move the camera slowly—no jerky motions or quick turns. You'll give your viewers vertigo, otherwise.
Test your internet connection if you move into another room or leave your business/home/office to walk outside to another location. Consistent Wifi is essential to the success of your video. If you lose the connection, you'll lose all the people watching.
We'd love to hear your feedback and tips--and what you learned. Feel free to post in the comments section below.
By Susan Dosier, President of DK Communications Group
Other stories by Susan you may find helpful: